Cream Wafer Sandwich Cookie Recipe
This Post May Contain Affiliate Links. Please Read Our Disclosure Policy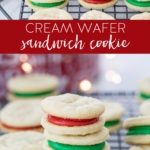
Delightfully flaky and creamy, these Cream Wafer Sandwich Cookies are the perfect treat for the holiday season. With a buttery wafer on the outside and a smooth, sweet filling inside, they’re a must-bake for anyone who loves classic cookies. Perfect for sharing or gifting, these little bites of nostalgia will become a holiday favorite.
I’m sharing my absolute favorite cookie—cream wafers. I will use any excuse to make this sandwich cookie, and I will pass up every other cookie if these are available. Sorry, chocolate chip.
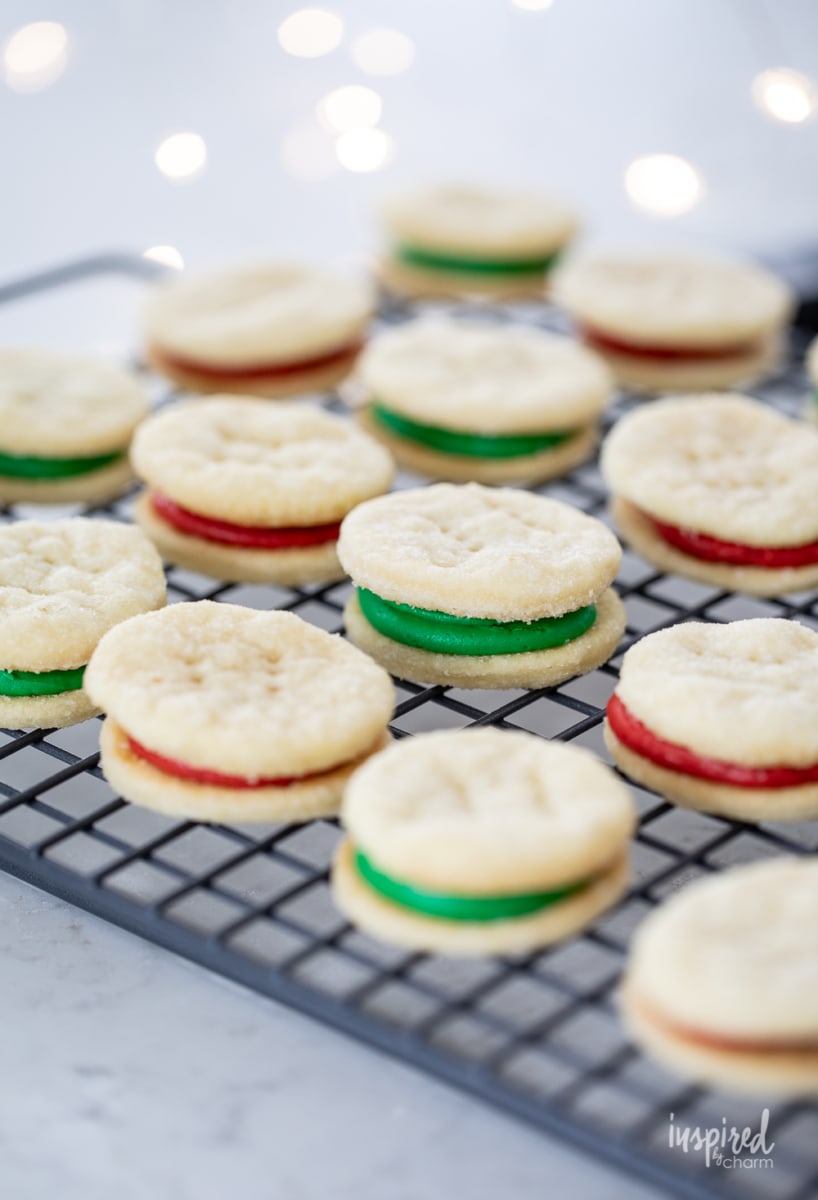
It’s two light and flaky cookies sandwiched together with rich and sweet buttercream. These are a must-make Christmas cookie that you’re going to love at much as I do!
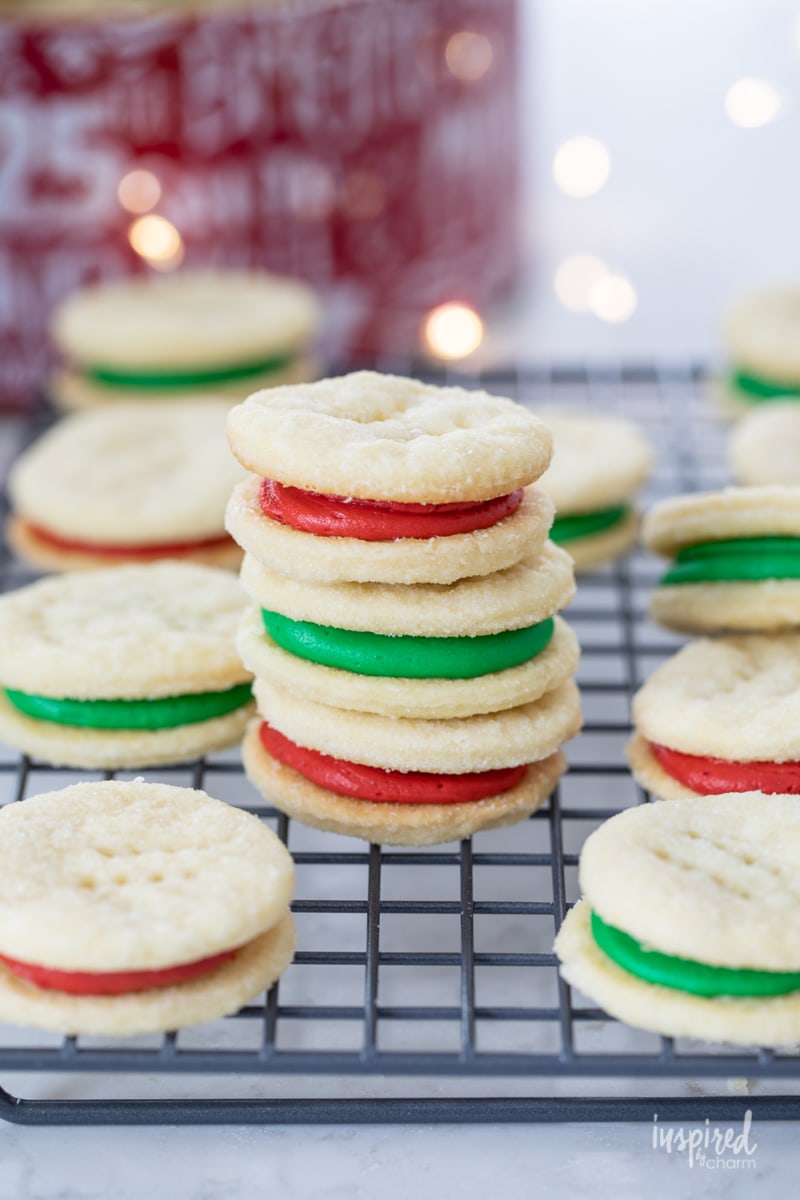
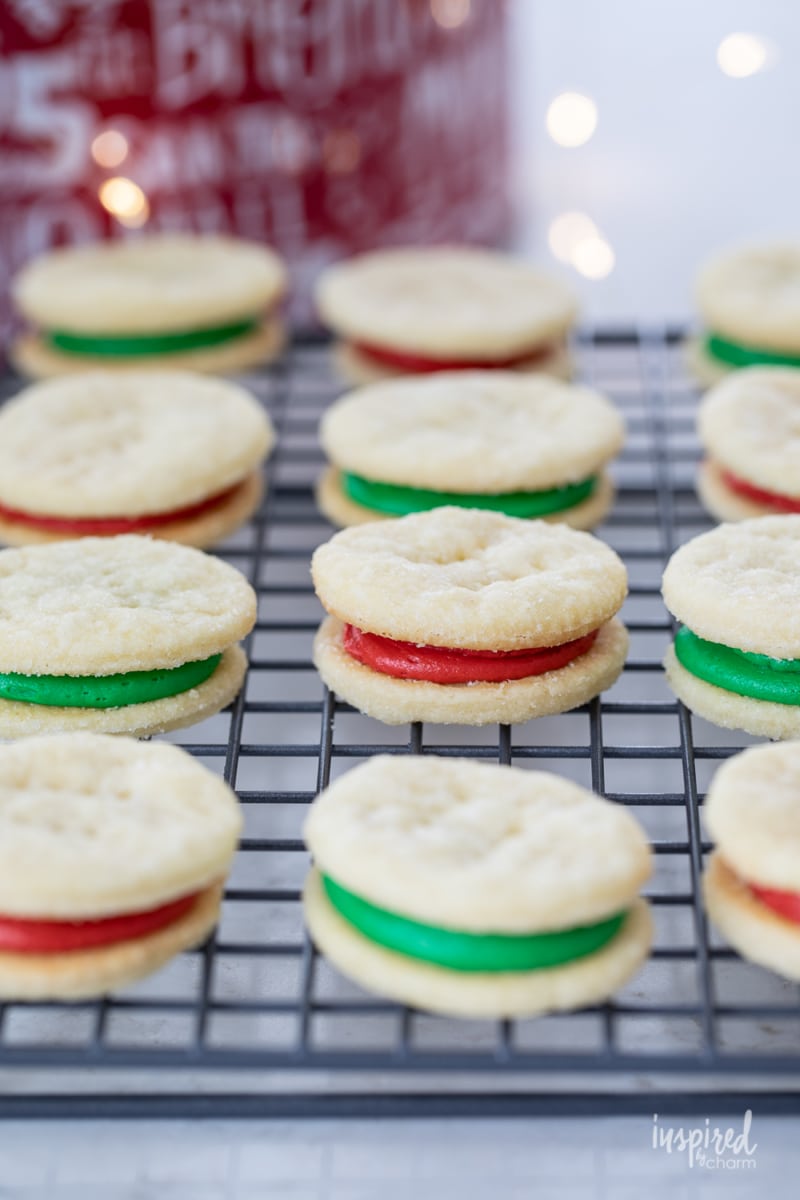
I originally shared this recipe with tree-shaped cream wafer cookies. However, when I make them for Christmas, I make a circle cookie with green and red filling.
As you will see throughout this post, there is a mix of tree-shaped cookies and round-shaped cookies. The recipe is exactly the same; I just used a different-shaped cookie cutter.
Why You’ll Love This Recipe
- These cookies are a true classic, with a recipe that’s been around for generations. There’s something special about baking a treat that’s stood the test of time, delivering that same perfect, melt-in-your-mouth texture and flavor. It’s a nostalgic bake with a flavor that never goes out of style.
- The combination of buttery, flaky wafers and a sweet, creamy filling is simply irresistible. Each bite has that light crunch and soft center, creating a satisfying and memorable experience. This cookie doesn’t compete for attention—it steals the show.
- They’re a versatile canvas for creativity with endless options for shapes and colors. From classic circles to festive trees, stars, or hearts, these cookies can match any occasion, especially around the holidays. Adding a touch of food coloring to the filling also lets you personalize each batch.
- Their delicate layers make them feel extra special and just a little indulgent, like something you’d find at an upscale bakery. But the best part? They’re simple to make and absolutely unforgettable.
Ingredients
You may be surprised how short this ingredient list is for a sandwich cookie. The cookie alone is only four ingredients!
Cookie:
- Butter: Softened butter really comes through these cookies as the main flavor. I like Kerrygold.
- Heavy Cream: With a high-fat content, this makes the cookies extra rich and buttery.
- Flour: Each sandwich cookie ends up with a very flaky consistency, just like pastries.
- Sugar: The sugar in this recipe is only for dusting. Meaning there’s no sugar inside the cookie! Instead, you get the sweet flavor from the buttercream icing.
Butter Cream Filling:
- Butter: Because you can’t have buttercream without butter!
- Confectioner’s Sugar: Depending on the desired consistency, you can add more or less confectioner’s sugar.
- Vanilla: A hint of vanilla extract for flavor.
- Heavy Cream: A little bit of cream also amps up the richness of the filling as well as the cookie.
- Food Coloring: Color the frosting any way you like! I always go for a classic green and red for the holidays. THIS is my favorite food coloring.
How to Make
Okay! Ready to make these Cream Wafer Sandwich Cookies? Let’s do it! I’ll walk you through the steps below. (Don’t forget to read the recipe tips too!) I’ve also provided a full ingredient list and detailed instructions in the printable recipe card below.
- In the bowl of a stand mixer (or with a hand mixer), beat the butter 3-5 minutes until it’s light and fluffy. With the mixer on low, slowly add the flour and then the cream. Mix until just combined. Cover and refrigerate the dough for at least two hours or overnight.
- Preheat oven to 375 degrees F.
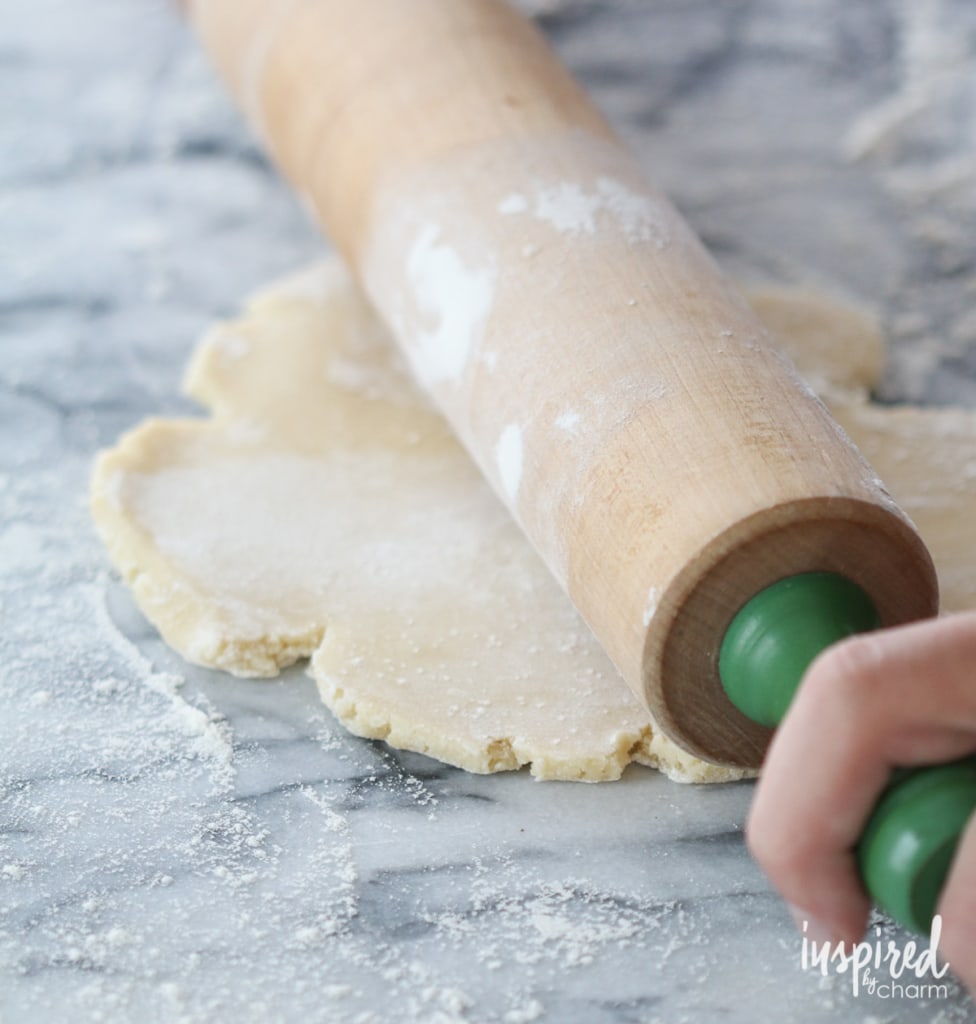
- On a lightly floured surface, roll out the dough to a 1/8-inch thickness. Cut with a small tree-shaped cookie cutter. (Alternatively, you can use any style of cookie cutter you prefer.)
- Add the sugar to a separate small bowl. Press the cut out trees into the sugar. Then, place on an ungreased cookie sheet. Prick with a toothpick or fork.
- Bake 7-9 minutes, removing the cookies from the oven just before they start to brown. Remove them from the cookie sheet to cool.
- In the meantime, make the filling. In the bowl of a stand mixer (or with a hand mixer), cream the butter and salt until light and fluffy (This will take 3-5 minutes.) With the mixer on low, add the powdered sugar, 2 tablespoons of heavy cream, and vanilla. Then add the food coloring. If the filling seems too thick, add more heavy cream until desired consistency is achieved.
- To easily frost the cookies, put the filling in a piping bag. Once the cookies are cool, pipe the filling on the back of one cookie. Top with another cookie and press to secure.
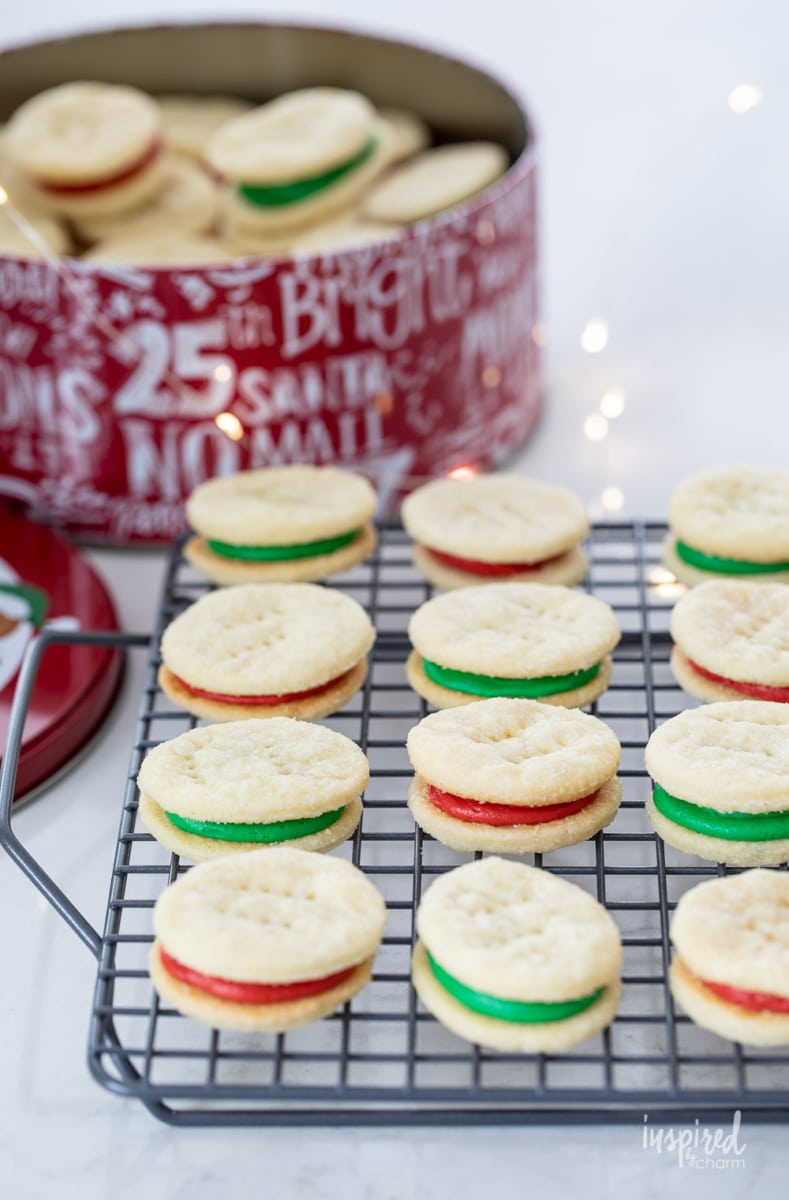
- Pack and store in an airtight container.

Recipe Tips
These cream wafer sandwich cookies are my all-time favorite cookie recipe. And I don’t say that lightly! If I were to only eat one cookie for the rest of my life, it would probably be these.
Making this sandwich cookie recipe is simple, but it takes a little time and patience. You can find more detailed instructions and measurements in the recipe card at the end of this post. Here are some of my top tips for making these sandwich cookies!
1. Chill the dough
Be sure to chill your dough before attempting to roll it out; it makes a huge difference. It can be tempting to skip this step or only let it chill for a few moments, but it helps to make the dough easier to roll, and the cookies will also hold their shape better.
💌 SAVE THIS POST / RECIPE!
When the dough has time to rest, it also relaxes the gluten. This means your sandwich cookie won’t shrink while baking.
After taking the dough out of the fridge, allow the dough to sit at room temperature for a few minutes to prevent it from cracking when you roll it out.
2. Poke cookies with a fork
Prior to putting the cookies in the oven, poke them a few times with a fork. This will prevent air bubbles and the cookies from puffing up too much due to their high butter content.
3. Use a piping bag
Since these have a somewhat intricate shape, I decided to use a piping bag to add the filling. Normally, when working with round cookies, I use a butter knife, but piping makes the process go faster. Plus, it cuts down on mess.
4. Change up the fillings
Now I like to stick to the original recipe with these cookies (don’t mess with perfection). But if you want to get creative with the fillings, I encourage you to give them a try.
You can substitute the vanilla extract in the icing for a slightly different flavor, such as lemon. Or you can fill the centers with something else entirely. Nutella, a cookie butter, and chocolate are all good additions.
Be sure to avoid any kind of jam since this can make your sandwich cookie soggy.
Frequently Asked Questions
What flavor are these sandwich cookies?
Why are these cookies so yummy? Well, they are basically sugar and butter with a little flour to hold them together. How bad can that be? Soft, flaky cookies sandwiched together with heavenly buttercream. Sometimes simple is best, and this recipe proves it!
I bake these cookies every year, but as I mentioned, I typically make them round. For a special occasion, or just to have fun, you can get creative with shapes as I did with the trees. I made them fairly small, too, for easy eating, of course. You can pop them whole, right into your mouth.
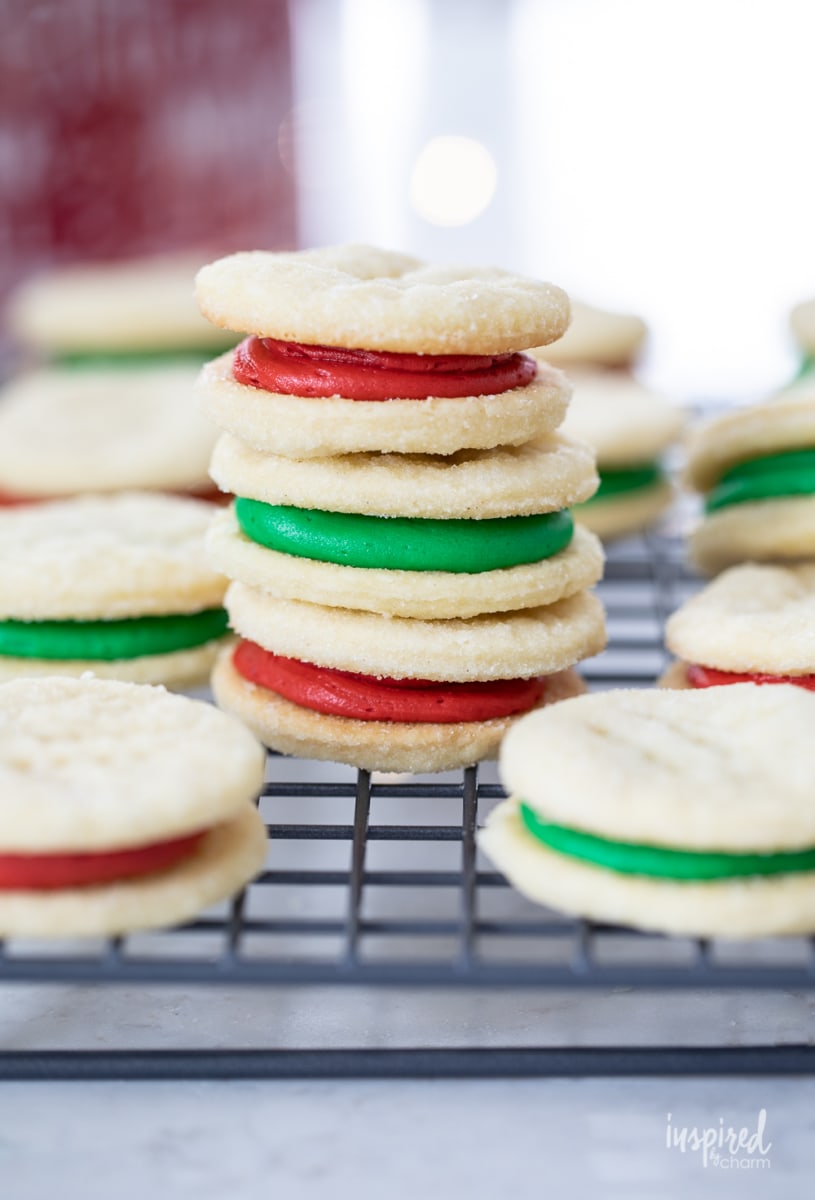
How do you get such intense colors?
One question I’m often asked is, “how do you get such intense filling color?” It’s all about the food coloring. I like this gel food coloring. Just add until you achieve the saturation of color you desire.
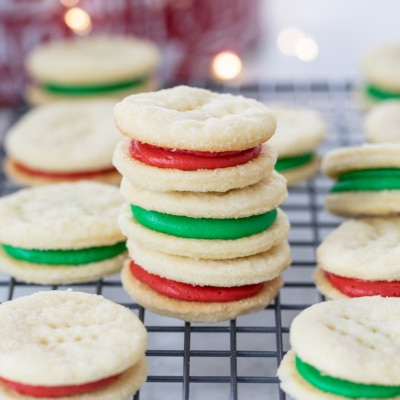
Cookie perfection. I hope you’ll try these sandwich cookies if you’ve never tasted or made them. They might become your new favorite. I almost feel a little protective over sharing my favorite cookie recipe! I promise you, they’ll be an instant classic in your household.
Ready to make them? Take a peek at the recipe below!
More Festive Cookies You May Enjoy
- Whipped Shortbread Cookies
- Christmas Kitchen Sink Cookies
- Italian Sprinkle Christmas Cookies
- Gingerbread Cookie Bars
- Cherry Walnut Snowball Cookies
Once you’ve baked up a batch of these Cream Wafer Sandwich Cookies, I think you’ll see why they’ve become my all-time favorite. So go ahead, give them a try and make a little extra to savor later! If you do, please leave a comment and a 5-star rating below.
Want more from Inspired by Charm? Join the IBC Mailing List for inspiration in your inbox! Follow along on Instagram and TikTok for daily updates and behind-the-scenes looks at my processes. There’s even more inspiration on Facebook and Pinterest!
Cream Wafer Cookies
Video
Ingredients
- 1 cup unsalted butter softened
- 1/3 cup heavy cream
- 2 cups flour
- 1/2 cup granulated sugar for dusting
Filling:
- 1/2 cup unsalted butter softened
- 1/4 teaspoon kosher salt
- 1 1/2 cup confectioner’s sugar
- 2 teaspoons vanilla
- 2-4 tablespoons heavy cream
- Food coloring optional
Instructions
- In the bowl of a stand mixer (or with a hand mixer), beat the butter 3-5 minutes until it’s light and fluffy. With the mixer on low, slowly add the flour and then the cream. Mix until just combined. Cover and refrigerate the dough for at least two hours or overnight.
- Preheat oven to 375 degrees F.
- On a lightly floured surface, roll out the dough to a 1/8-inch thickness. Cut with a small tree-shaped cookie cutter. (Alternatively, you can use any style of cookie cutter you prefer.)
- Add the sugar to a separate small bowl. Press the cut out trees into the sugar. Then, place on an ungreased cookie sheet. Prick with a toothpick or fork.
- Bake 7-9 minutes, removing the cookies from the oven just before they start to brown. Remove them from the cookie sheet to cool.
- In the meantime, make the filling. In the bowl of a stand mixer (or with a hand mixer), cream the butter and salt until light and fluffy (This will take 3-5 minutes.) With the mixer on low, add the powdered sugar, 2 tablespoons of heavy cream, and vanilla. Then add the food coloring. If the filling seems too thick, add more heavy cream until desired consistency is achieved.
- To easily frost the cookies, put the filling in a piping bag. Once the cookies are cool, pipe the filling on the back of one cookie. Top with another cookie and press to secure.
- Pack and store in an airtight container.
Can you freeze these cookies once filled? If so, for how long. I am hoping to add this to our wedding cookie table this fall.
Thanks-
Elaine
I’m not sure. I’ve never tried to freeze them.
xo Michael
I’d like to make these but what grams measurements do u use for the flour? I always weigh my flour to ensure accuracy. The scooping method always results in different amounts and isn’t always accurate. I typically use 120g flour/cup but recipes vary so thought I’d ask what you use.
I don’t weight my flour, so I don’t have a grams measurement. Sorry!
xo Michael
What size circle cutter do you recommend to use?